Colour Correction in After Effects
After effects is the first program I have experimented with to show how I use colours in order to change the image that was taken.
 |
| Image 1 |
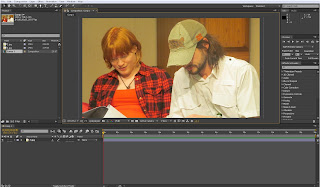
1) Image 1 shows how the original image looks like. Looking at the before image, this image looked too orange and flat looking. The white on the male characters shirt is taking up too much attention from the image and it is where my eye was most drawn to.
 |
| Image 2 |
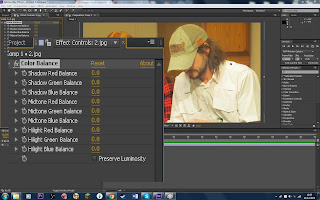
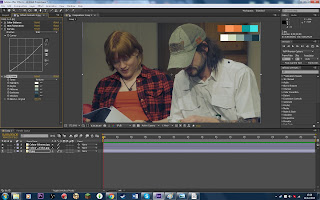
2) Image 2 shows how I went into the effects tab and found the colour correction drop down menu. This showed us all the tools I could use to change this image. Over the entire use of this image, I use: colour balance, hues&saturation, curves and cc toner to help me with completely changing the colours.
 |
| Image 3 |
3) Image 3 shows the colour balance setting before I changed anything. These settings controlled the additive primary colours, RGB, in shadows, mid tones and highlights to have complete control of how much colour and what colours you wanted to see.
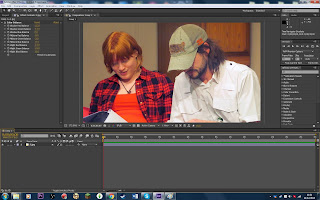 |
| Image 4 Natural Colour Scheme |
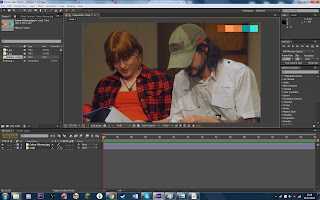 |
| Image 5 Orange, Brown & Blue Scheme |
 |
| Image 6 Blue, Grey & White Scheme |
For a final image, I think maybe creating my own colour palette for this image using what I think are the best darks, lights and midtones.
No comments:
Post a Comment